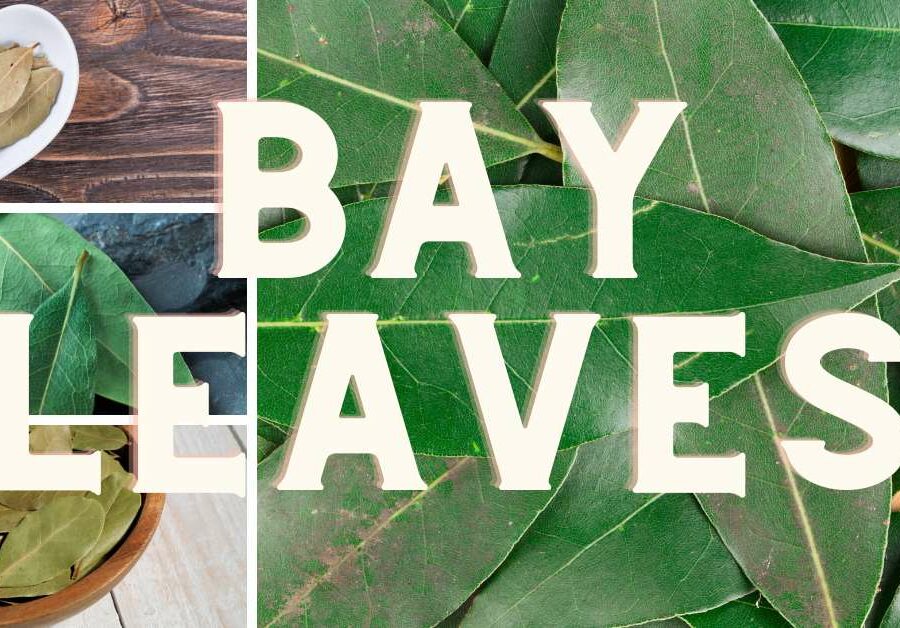
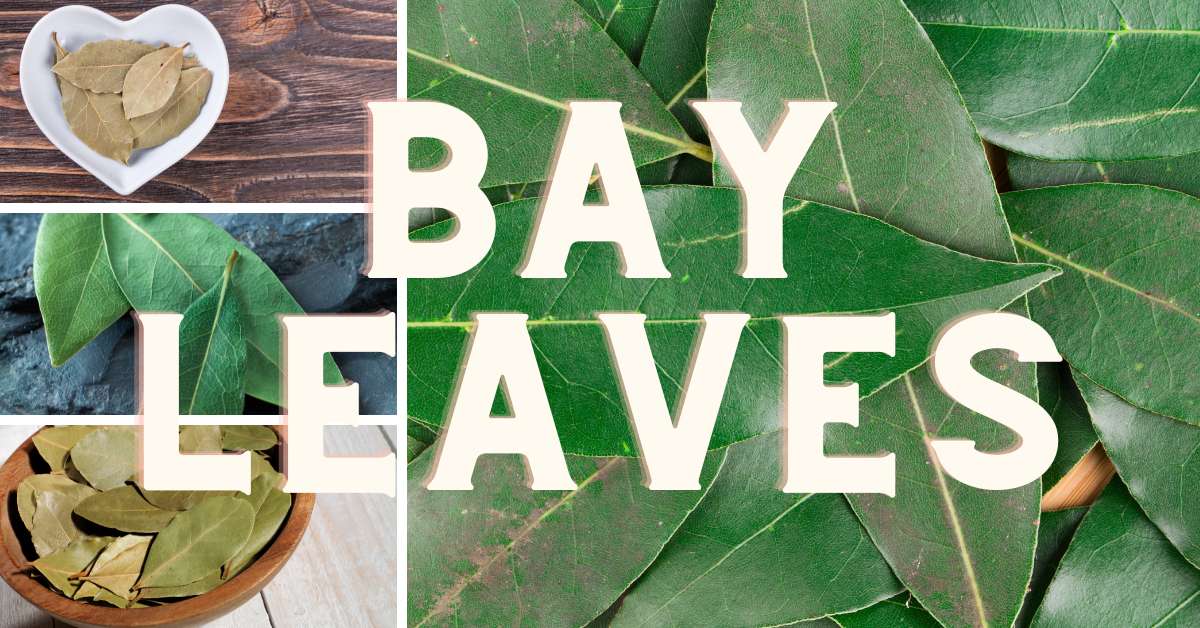
Bay Leaf Plants and Permaculture
Bay leaves are a versatile herb that can be grown in a permaculture garden. Permaculture is a system of sustainable agriculture that works with nature to create a self-sustaining ecosystem. Bay leaves are a great addition to a permaculture garden because they are easy to grow, require little maintenance, and have many uses!
Bay leaves are a perennial shrub or tree that can grow up to 30 feet tall in the right conditions. They prefer well-drained soil and a sunny location, but can tolerate partial shade. Bay leaves can be grown from seeds or cuttings and can be propagated easily.
Bay leaves have many uses in the kitchen as well as for medicinal purposes. They are commonly used in soups, stews, and sauces to add flavor. Bay leaves can also be used to make tea, which has many health benefits. Bay leaves have been used for centuries to treat a variety of ailments, including headaches, colds, and digestive issues.
When growing bay leaves in a permaculture garden, it is important to consider their companion plants. Bay leaves grow well with other herbs such as thyme, oregano, and sage. They also grow well with vegetables such as tomatoes and peppers. Bay leaves can help repel insects and pests from these plants, making them a great addition to a permaculture garden.
When harvesting bay leaves, it is important to only take what you need. Bay leaves can be harvested at any time of the year, but it is best to wait until the plant is at least two years old before harvesting. To harvest bay leaves, simply pick the leaves off the plant and dry them in a cool, dry place. Once dried, bay leaves can be stored in an airtight container for up to a year.
Choosing the Right Bay Leaf Plant
If you’re interested in growing your own bay leaves, you’ll want to choose the right plant for your needs. Here are some things to consider:
Types of Bay Leaf Plants
There are several types of bay leaf plants to choose from, but the two most common are:
- True Bay Laurel: This is the most common type of bay leaf plant and is the one typically used in cooking. It has dark, glossy leaves and can grow up to 30 feet tall.
- California Bay Laurel: This plant is native to California and has a stronger, more pungent flavor than the true bay laurel. It can also be used in cooking, but in smaller quantities.
Growing Conditions
Bay leaf plants are relatively easy to grow, but they do have some specific requirements:
- Climate: Bay leaf plants prefer a Mediterranean climate with mild, wet winters and hot, dry summers. They can be grown in USDA zones 8-11.
- Soil: Bay leaf plants prefer well-draining soil that is slightly acidic (pH 6.0-7.0).
- Sunlight: Bay leaf plants need full sun to thrive, so make sure they are planted in a spot that gets at least 6 hours of direct sunlight per day.
- Water: Bay leaf plants need moderate watering, but be careful not to overwater them as they are susceptible to root rot.
By choosing the right type of bay leaf plant and providing it with the proper growing conditions, you can enjoy fresh bay leaves right from your own garden for years.
Preparing the Soil
Before planting your bay leaf tree, it is important to prepare the soil properly. Bay leaves prefer well-draining soil with a pH level between 6.0 and 8.0. Here are some steps to follow:
- Choose a location that receives full sun or partial shade.
- Remove any weeds or grass from the planting area.
- Loosen the soil to a depth of at least 12 inches with a garden fork or tiller.
- Add compost or well-rotted manure to improve soil fertility and structure.
- Bay leaves prefer slightly acidic soil, so you may need to add lime if your soil is too acidic or sulfur if your soil is too alkaline.
- Test the soil pH level with a soil test kit to ensure it is in the optimal range.
Once you have prepared the soil, you are ready to plant your bay leaf tree. Make sure to water the tree deeply after planting and regularly thereafter to keep the soil moist, but not waterlogged. With proper soil preparation and care, your bay leaf tree will thrive and provide you with delicious and fragrant leaves for years to come.
Planting Bay Leaf
To grow your own bay leaf plant, you can start by planting from seeds or cuttings.
Planting from Seeds
Planting from seeds is a great option for those who want to start from scratch. Here are some steps to follow:
- Separate the seeds from the flesh of the berry and soak them in warm water for a day before planting.
- Plant the seeds in a pot filled with well-draining soil.
- Keep the soil moist and maintain a temperature around 70°F.
- After about 2-3 weeks, the seeds should start to germinate.
- Once the seedlings are about 3-4 inches tall, you can transplant them to a larger pot or outside in a sunny location.
Planting from Cuttings
If you don’t want to wait for seeds to germinate, you can also plant from cuttings. Here’s how:
- Take a cutting from a healthy and mature bay leaf plant.
- Remove the lower leaves and dip the end of the cutting in rooting hormone.
- Plant the cutting in a pot filled with well-draining soil.
- Water the cutting and cover it with a plastic bag to create a humid environment.
- Place the pot in a warm and bright location, but out of direct sunlight.
- After a few weeks, the cutting should start to root.
- Once the roots are established, you can transplant the cutting to a larger pot or outside in a sunny location.
Whether you choose to plant from seeds or cuttings, it’s important to remember that bay leaf plants need well-draining soil and plenty of sunshine. With a little patience and care, you’ll be on your way to enjoying fragrant bay leaves in your own home.
Caring for Bay Leaf
Watering
Bay leaves require regular watering, especially during the growing season. You should water the plant when the top inch of soil feels dry to the touch. Overwatering can lead to root rot, so be careful not to water too much. Make sure the pot has good drainage to prevent water from accumulating in the soil.
Fertilizing
Bay leaves don’t require a lot of fertilizer, but you can use a balanced fertilizer once a month during the growing season to encourage healthy growth. Use a fertilizer with equal parts nitrogen, phosphorus, and potassium (NPK). Be careful not to over-fertilize, as this can lead to salt buildup in the soil.
Pruning
Pruning is important for maintaining the shape and size of your bay leaf plant. You can prune your plant in the summer by cutting back the new growth to a few leaves. In the spring, you can cut back older branches to encourage new growth. Be careful not to prune too much, as this can weaken the plant.
Pest and Disease Control
Bay leaves are generally pest-resistant, but they can be susceptible to scale insects and spider mites. You can control these pests by spraying the plant with a mixture of water and dish soap. For more severe infestations, you can use an insecticidal soap or neem oil. Bay leaves can also be affected by fungal diseases such as powdery mildew and leaf spot. You can prevent these diseases by keeping the plant well-ventilated and avoiding overhead watering.
Harvesting Bay Leaves
Once your bay leaf plant has reached maturity, it’s time to start harvesting your bay leaves. Bay leaves can be harvested year-round, but if you want to harvest a large amount at one time for long-term storage, it is best to harvest them in mid-summer when the leaves are at their peak in terms of essential oils, and hence flavor.
To harvest the leaves, simply hand pick or snip off large, unblemished bay leaves for harvest. Pick the largest leaves first, as they have a more intense flavor than the younger ones. If you need to prune your bay laurel to maintain its shape, it is best done during late spring or early summer.
When harvesting bay leaves, it’s important to only take what you need. Avoid harvesting more than one-third of the plant at a time, as this can weaken the plant and reduce its ability to produce new growth. Additionally, it’s important to leave some leaves on the plant to ensure that it continues to photosynthesize and produce energy.
Once you have harvested your bay leaves, you can use them fresh or dry them for later use. To dry your bay leaves, simply spread them out in a single layer on a baking sheet and place them in a warm, dry place for a few days until they are completely dry. Once dry, store them in an airtight container in a cool, dry place away from direct sunlight.
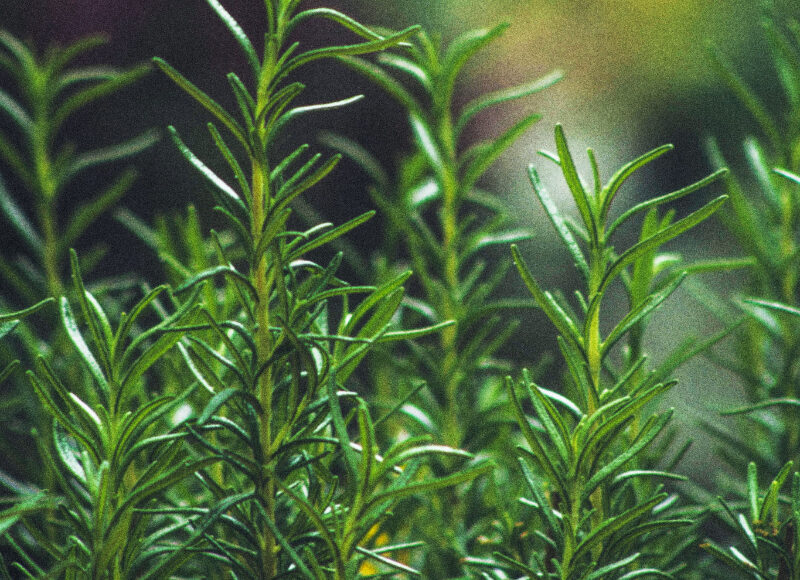
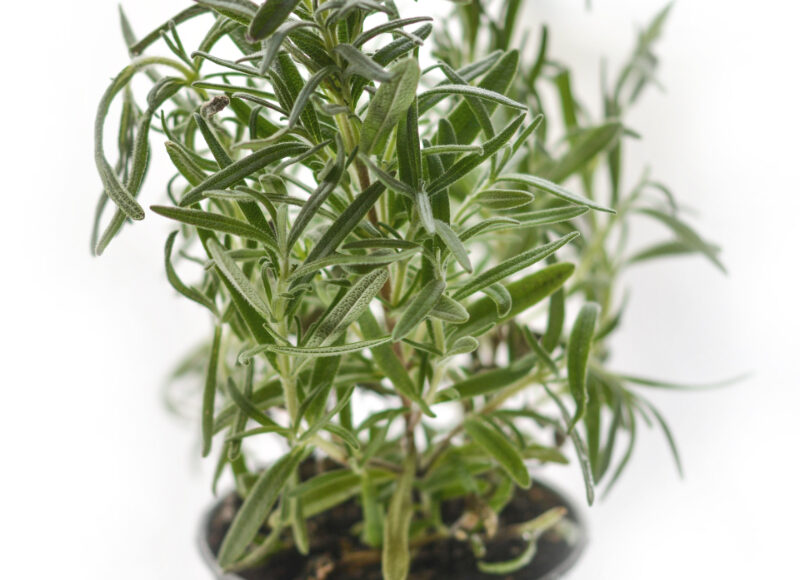
Brand new to herb gardening?
We have a beginner’s guide, suggestions for themed herb gardens to try out, and fun and inexpensive ways to organize your herb garden in style.


Leave a Reply